-
Written By Adom Smith
-
Updated on March 2nd, 2026
How to Import BAK File to MS SQL Server Database?
Summary: SQL Server is used to access, store, and manage the database efficiently. A BAK file is a backup of the entire SQL Server database, which includes both the MDF (data) and LDF (log) files. However, various factors can corrupt a BAK file and make it inaccessible, potentially leading to SQL database errors during restoration. To mitigate these errors, users want to import BAK file to MS SQL Server. In this blog, we describe the various methods, including the manual method and a professional SQL Database Backup Tool method. The tool easily saves your BAK file in the respective SQL Server with ease.
Download Now Purchase Now
Need to Import BAK File in SQL Server
Before explaining the import of a BAK file into SQL Server, it is first important to understand why there is a need for import. There are different reasons behind these imports, such as
- A BAK file restores all the data lost due to corruption.
- You can effortlessly transfer all your data from one SQL Server instance to another.
- Developers can import a BAK file to test the application in a safe environment.
- If you reinstall the application, importing the BAK file maintains the consistency.
Free Method to Import BAK File to MS SQL Server
Importing a BAK file into MS SQL Server can be somewhat complex and may require careful steps to ensure accuracy. However, in this section, we elaborate on the manual method with easy steps that accomplish your task without much requirement of technical knowledge.
- Download and install the SQL Server Management Studio (SSMS) application on your system.
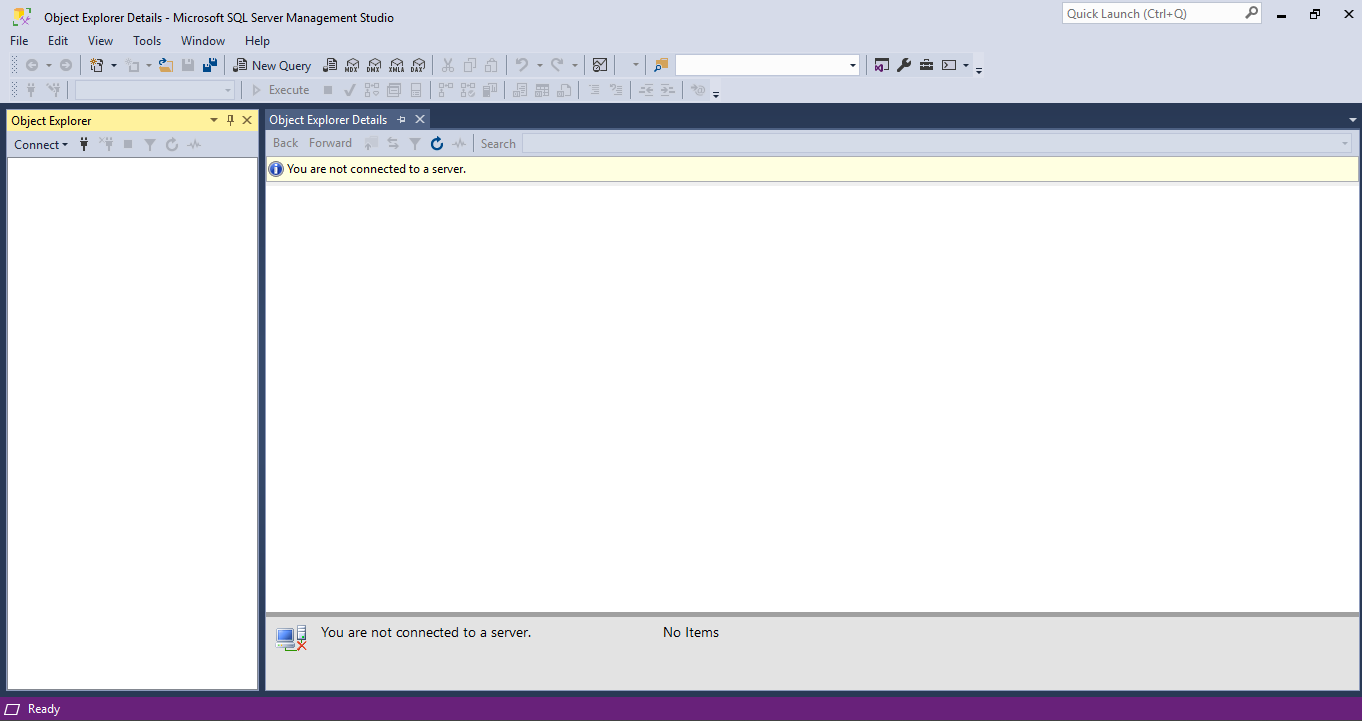
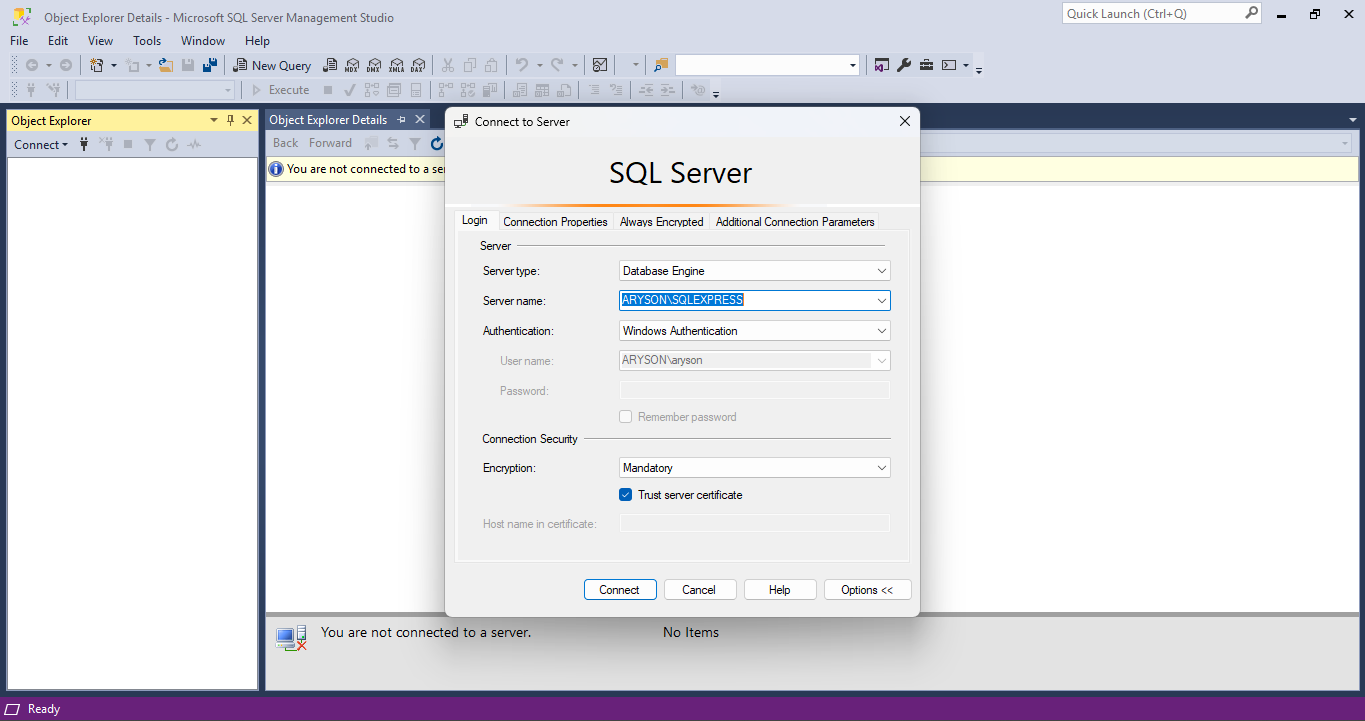
- After that, connect to the server to operate the SSMS application.
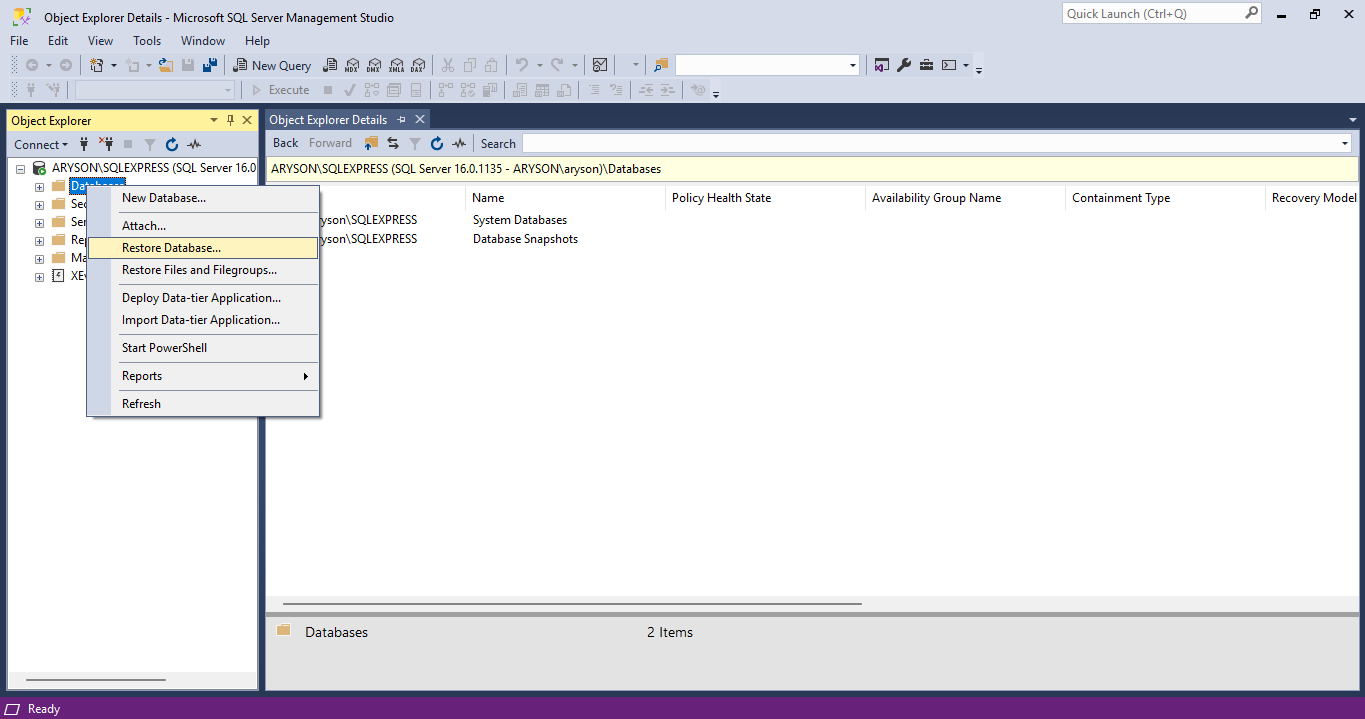
- In the left panel, you see an Object Explorer tab. Expand it.
- After expanding it, right-click on the database file/folder.

- Here, open the menu section and choose the Restore Database option.
- Under the source section, choose the Device option.
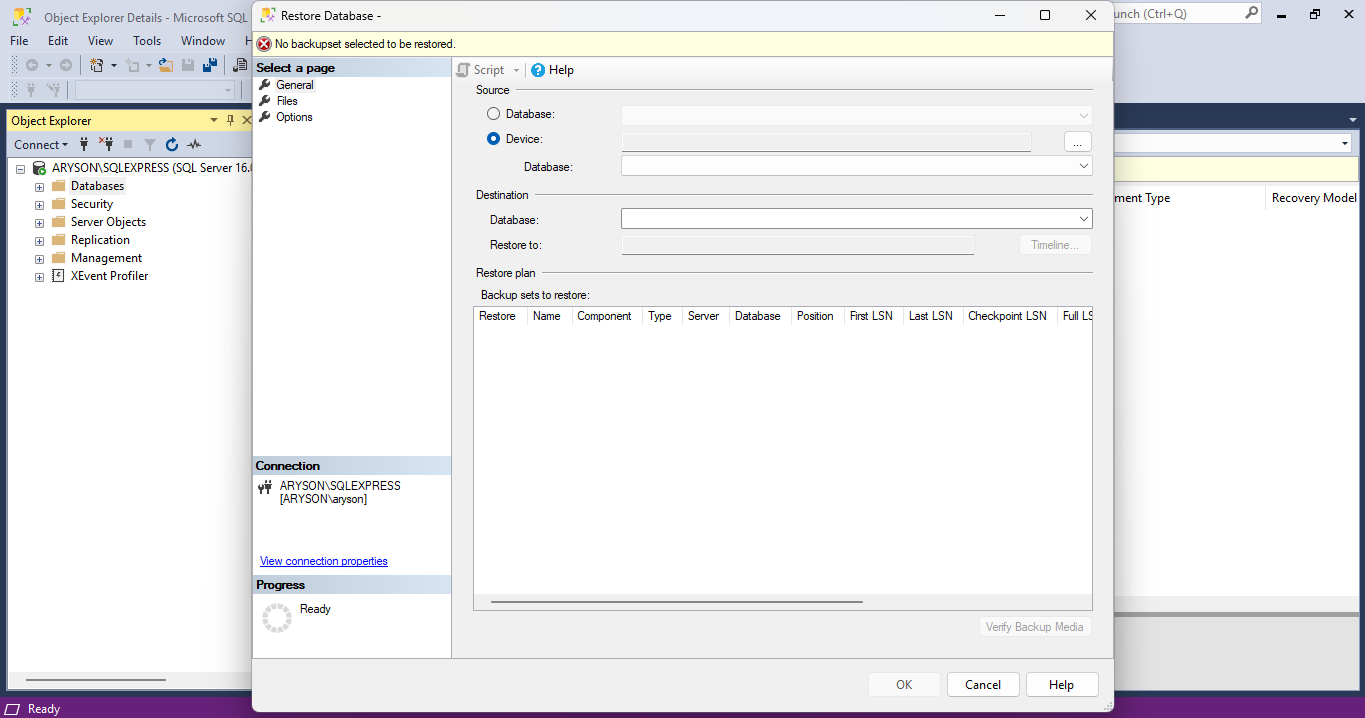
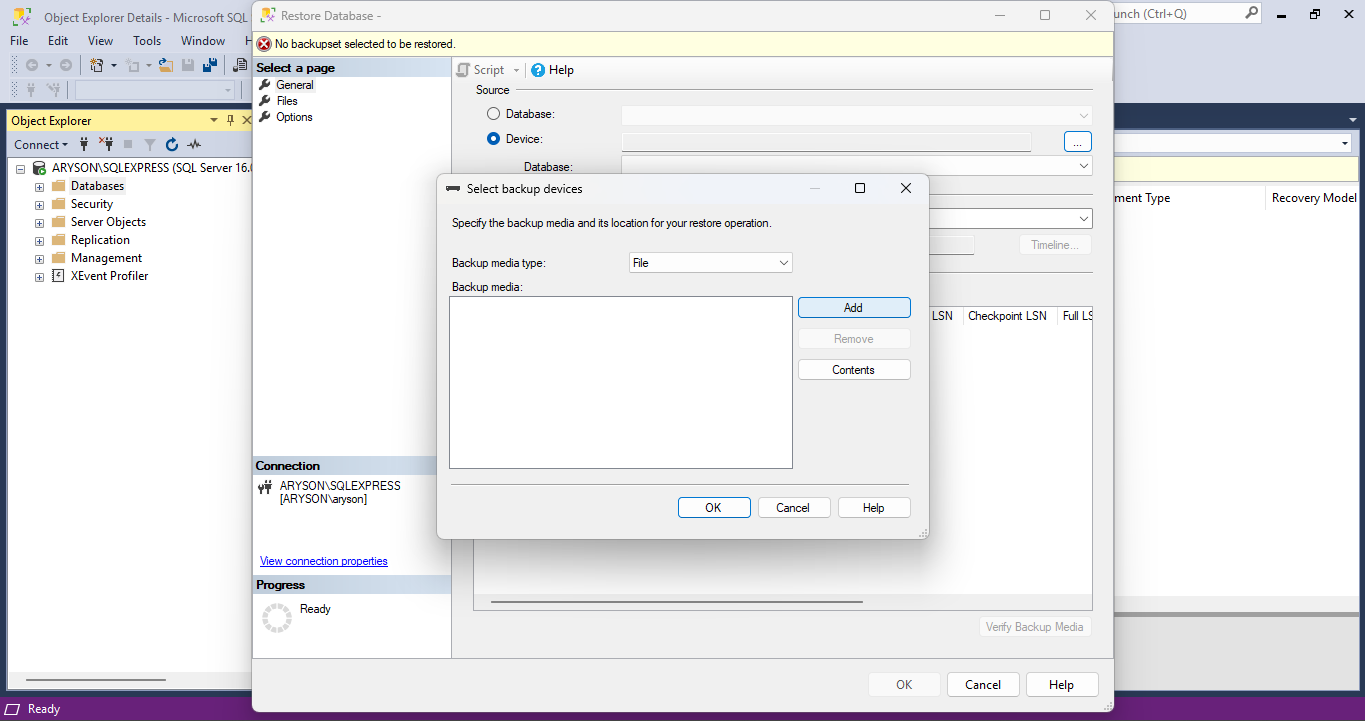
- Click on the three dots to open the Select backup devices option.
- After opening the prompt of Select backup device, click on the Add button.
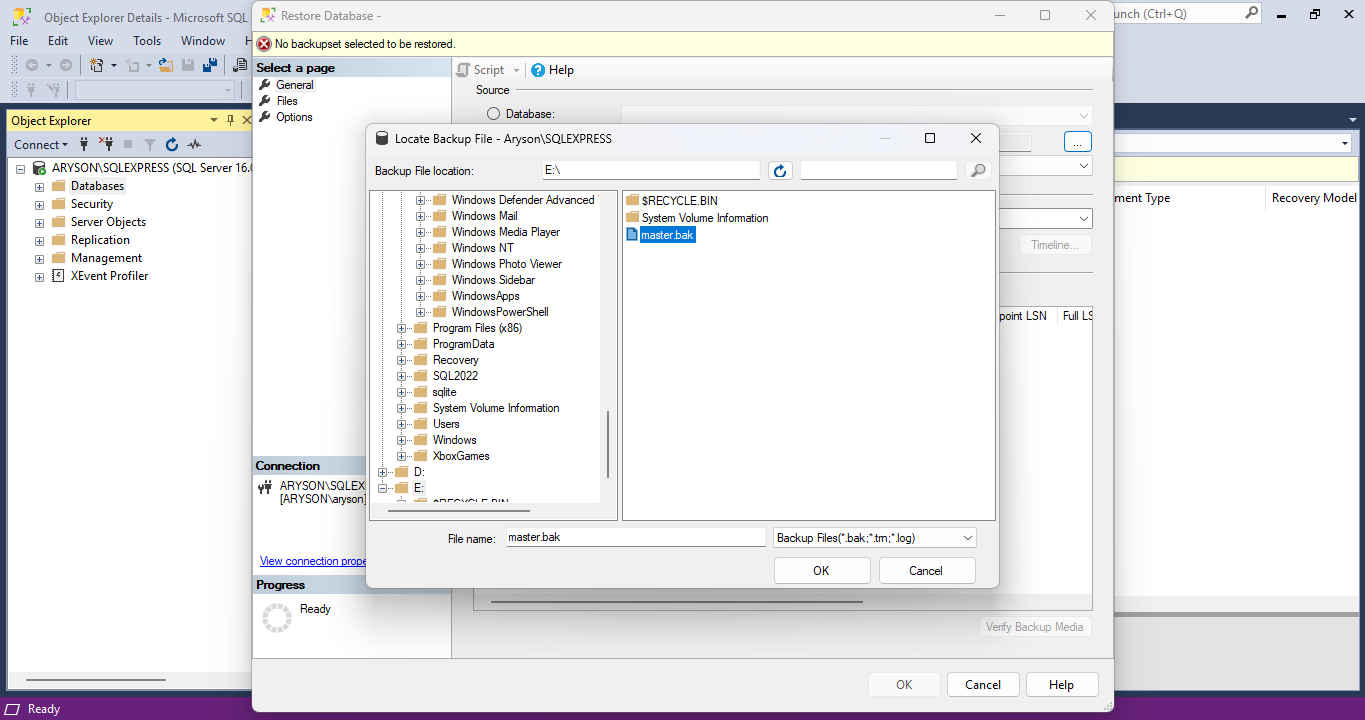
- Browse and select the file location of the BAK file. Click OK.
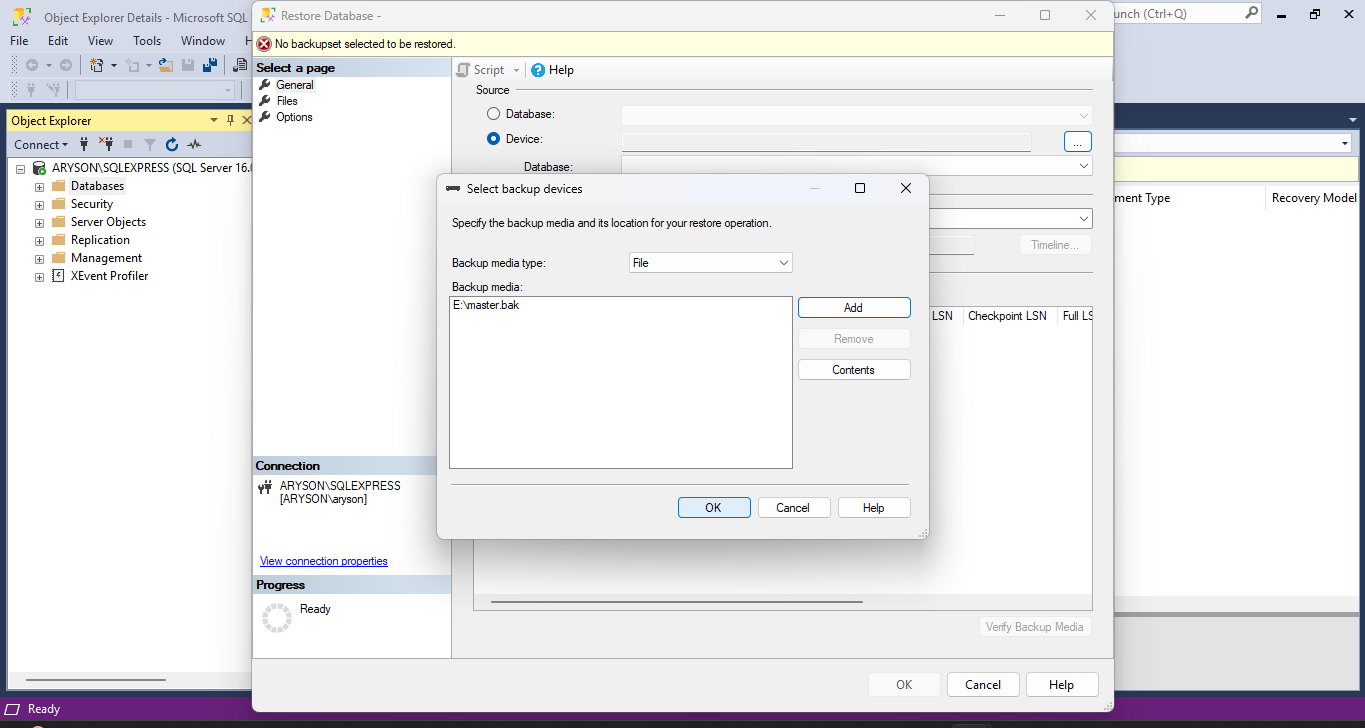
- After adding the BAK file to the backup device prompt, click OK.
- Under the select page option, click on the Options option.
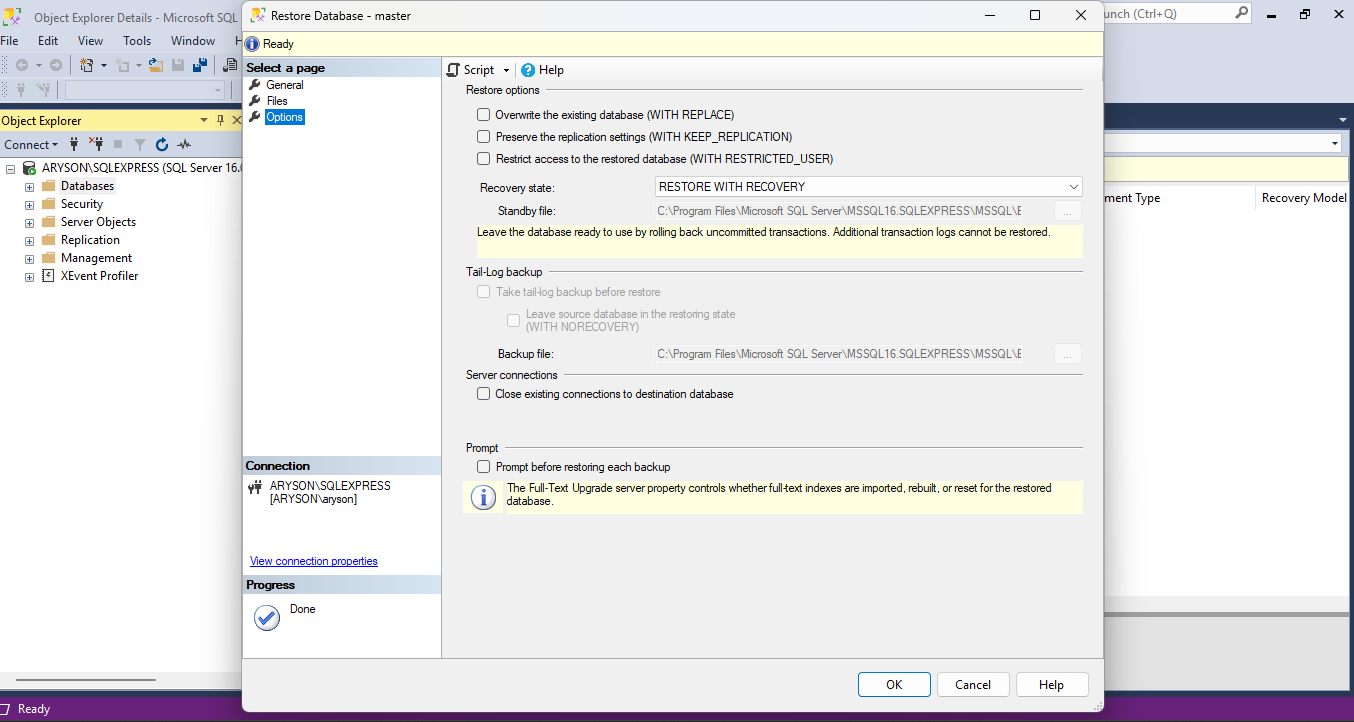
- Here, apply the restore options as needed or required.
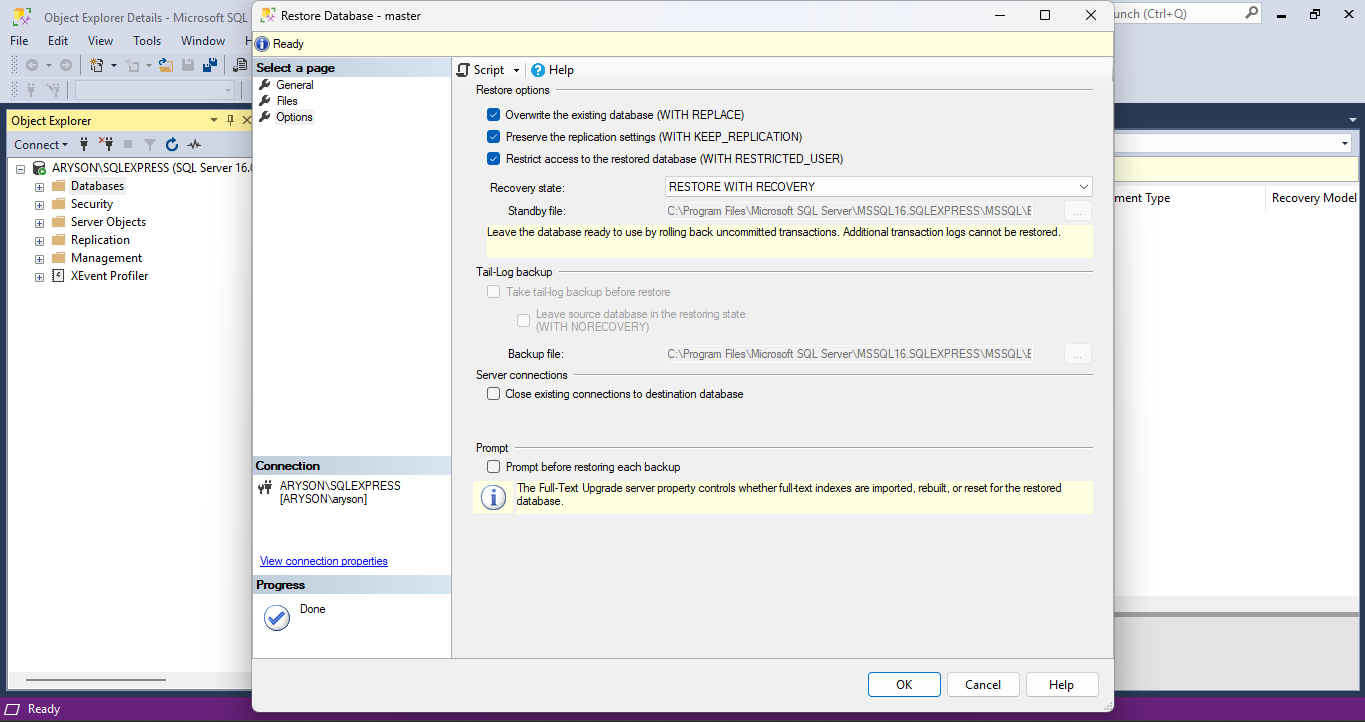
- In the end, review all the changes and click on the OK button.
Common Challenges of the Manual Method
When you restore BAK file in SQL Server, you may face some challenges. Here are all the possible challenges and limitations explained so you can identify and avoid them for a smooth and successful result.
- The manual method requires technical knowledge to perform the task.
- The import process might overwrite the existing database.
- If the original backup path is different from the new one.
- The process might fail if the BAK file is damaged or corrupted.
- Restoring a large BAK file using the manual method is time-consuming.
- Compatibility issues might arise from the new SQL Server.
How to Professionally Import BAK File to MS SQL Server?
If you find the manual method complex and inefficient, choose a professional SQL Database Backup Tool. This tool is developed to restore the SQL Server BAK files without much technical knowledge. Additionally, it supports bulk BAK file imports with no file size limitations, ensuring seamless large-scale database restoration. Also, by repairing and backing up the BAK file, it can repair corrupted SQL Server. Moreover, the tool supports restoring all types of BAK files, including inaccessible, corrupted, split, and many more, ensuring complete database recovery. It is compatible with all versions of SQL Server and Windows OS, too.
Steps to Import .bak File in Microsoft SQL Server
- Download and install the SQL Database Backup Tool on your system.
- After that, browse and choose the temporary file path.
- Here, choose a scanning mode and a backup option as needed.
- Choose the BAK file to repair and import on your server.
- Now, click on Select Location and choose the saving location.
- After applying all the settings, click on the Extract File button.
- It shows a prompt of extracted data. Choose the relevant file from it.
- After reviewing all the details, click on the Save button.
Read Also : Bulk Recover Deleted Videos
Conclusion
In a nutshell, we described all the possible methods to import BAK file to MS SQL Server. For healthy or minimally corrupted data, choose the manual method. However, for severe corruption, always go for the professional SQL Database Backup option. The professional tool is equipped with the latest technology and an innovative algorithm that enhances productivity. Choose any of them as per the requirement and data corruption.
Frequently Asked Questions
Q.1 How do I open a .bak file in SQL?
Ans. To access a BAK file, launch SQL Server Management Studio (SSMS) and establish a connection to your database. Once connected, navigate to Object Explorer to proceed. Here, go to the database option and connect the desired BAK file as per the requirement.
About The Author:
Adom Smith is a DataRecoveryHelp Technology Writer. He is a technology enthusiast with over 3 years of experience in Data Recovery, IoT, Artificial Intelligence, and Robotics. He enjoys researching and sharing DIY solutions as well as tips and tricks for resolving Windows technical issues.
Realted Post